DIY Camera repairs – What you need to know to be successful!
Free Advice for DIY camera repairs. During my more than 25years experience in repairs of camera and camcorders of all brands, I am well aware of any challenges you may encounter towards a successful repair.
The pieces which need to be in place for most camera repairs:
• Technical knowledge and know how
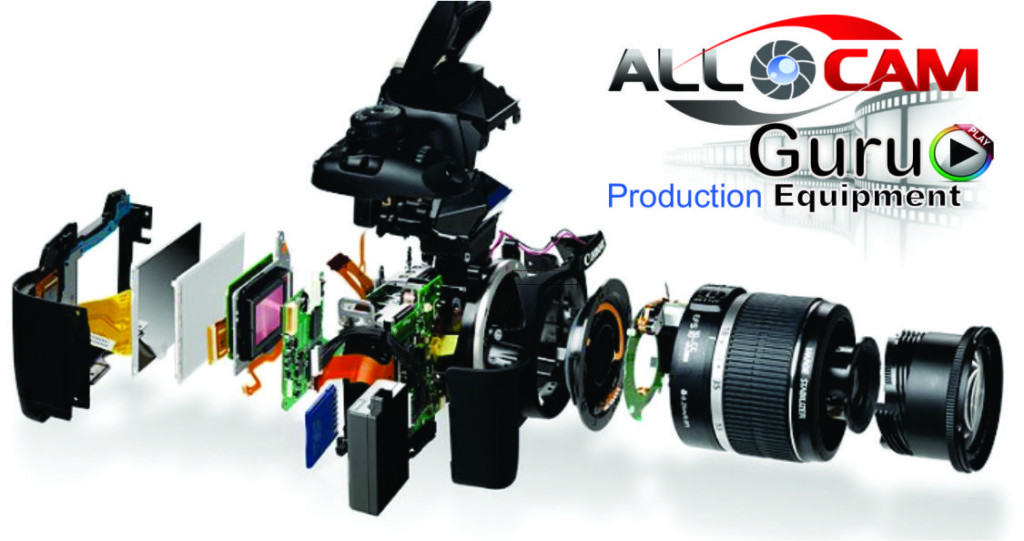
• Exploded view and part list documentations to identify part numbers
• Spare part supply
• The right tools to disassemble the camera and replace faulty parts
• Alignment, adjustment tools, procedure documentation, equipment and software (advanced camera repairs)
DIY Camera Repairs are often unique, so it is essential, that you are equipped with the right technical and theoretical knowledge to approach any brand and model. Here are some fundamental considerations to get started. It is more a guide or compass, which can be applied to navigate through all the different camera models. If you are a first timer, or new to this subject, I recommend to start with an old, cheap scrapped camera first. Bear in mind that dismantling and reassembly of any camera can be as difficult as the repair itself. Without care and hasty procedures the camera can be easily damaged and be worse of as in the first place. In most cases you have to replace or repair parts and assemble the whole camera before you can see if the repair was successful.

Camera Service
Preparation before repair
• Test all functions and features for proper diagnosis
• Make sure that you can obtain spare parts for this particular brand and model
• Work space and tools as needed
DIY-Camera Repairs – Procedure:
• Disassembling of the camera
1. Start off with a clean space and a couple of small containers for screws and housing parts.
2. Use a digital camera to document the dismantling for later reference.
3. Keep in mind that some screws are hidden under covers, doors or stickers/padding
4. Be aware of screw size, thread and length
5. Most cameras housing is additionally hold together by clips – you need to apply some push and pull pressure at the right spots to dismantle the camera.
6. Watch out for ribbons which connect circuit boards. You must find the right force to prevent any tear of these ribbons.
• Part replacement or repair
1. Disassemble the camera as far as you need to comfortably remove or repair the faulty component.
2. Watch out for any cables or ribbons attached to the part.
3. If you need to solder cables watch colours and/or take a photo of connection
4. If you need to fit the new part at a later time, keep housing parts, screws and any notes together in a sealable plastic bag and container.
• Assembling of camera
1. Use your notes and pictures to get it right
2. Make sure to use the right screws for certain wholes
3. Fit the housing parts in the right order to ensure proper seating
4. Clip in any clips before fitting screws
5. Make sure that all cables and circuit boards are connected before testing
6. Don’t apply too much pressure to re-seat housing parts
7. Watch out for disconnected and squeezed cables
8. Once camera assembled, test it in all function and features to prevent unpleasant surprises
Summary
Here you go, a crash course in camera repairs. This is obviously just the very basics and far from complete.
However, if you are serious about it and want to take this skill to the next level, or have any issues with a particular repair, visit me in the member area. Here you can have hands on technical as well as any general advice about camera and video equipment repairs.
Camera Repair Journal
There are thousands of different cameras and camcorders out there. The chances that you have the same in a video demonstration are very slim. In this camera repair journal I rather give you a description in words, which discripe a repair procedure and can be applied to many different camera and camcorder models. The still pictures will enhance the contents.
Services, Sales , Blog posts and Articles – Sitemap

 Job Track online 24/7
 Online Repair Estimate

 Facebook
 LinkedIn