LCD Ribbon Replacement for Camcorders
Symptom for : Side screen has no picture or lines. Touch screen can work perfectly. The picture in eye is viewer OK.
Caution: Test all functions in record and playback to see if there is further damage to the camera, which would make a repair uneconomically.
LCD Ribbon Replacement
- Dismantle the camera as far as you need to, to remove the whole side cover, which supports the Flip-out screen.
- Disconnect the flexible circuit board, which leads to the hinge unit.
- Unscrew and open the side screen itself.
- Undo the flexible circuit board and screws which hold the side screen and remove it from the hinge.
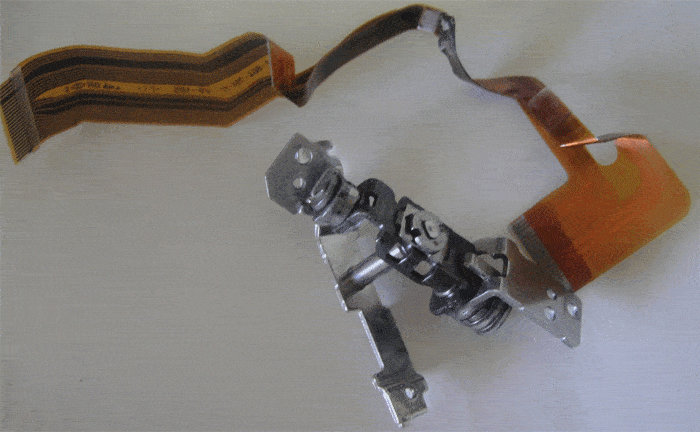
- At this point I would like to advice to take several close-up photos, which reveal how the ribbon cable is fed through the hinge for later reference.
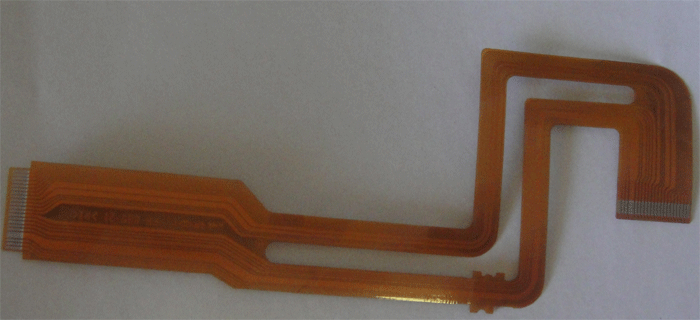
- Prepare the new ribbon cable by folding it like the old one.
- Now unscrew and remove the plastic cover attached to the hinge and replace the ribbon cable.
- Assemble the hinge, fit it in the side case and assemble the whole camera in reverse order.
- Test all functions – Done!

Side Screen Hinge and Flexible circuit board
To avoid any damage and self induced faults, check out our Camera Care Video.
For more technical knowledge about LCD ribbon replacement and camcorders I recommend THE Camcorder Handbook, or the Camcorder Technology Course
If your camera fault is not listed or you need advice with your particular camera issue click on the logo below.
For free repair estimates
- Fast Free workshop Estimate
- Australia–wide send in service
- ALL BRANDS, Video & Photo
- Professional & Domestic equipment
- Very competitive rates
- 6 month warranty on repairs
- 24/7 online job tracking
- Technician advice


 Job Track online 24/7
 Online Repair Estimate

 Facebook
 LinkedIn